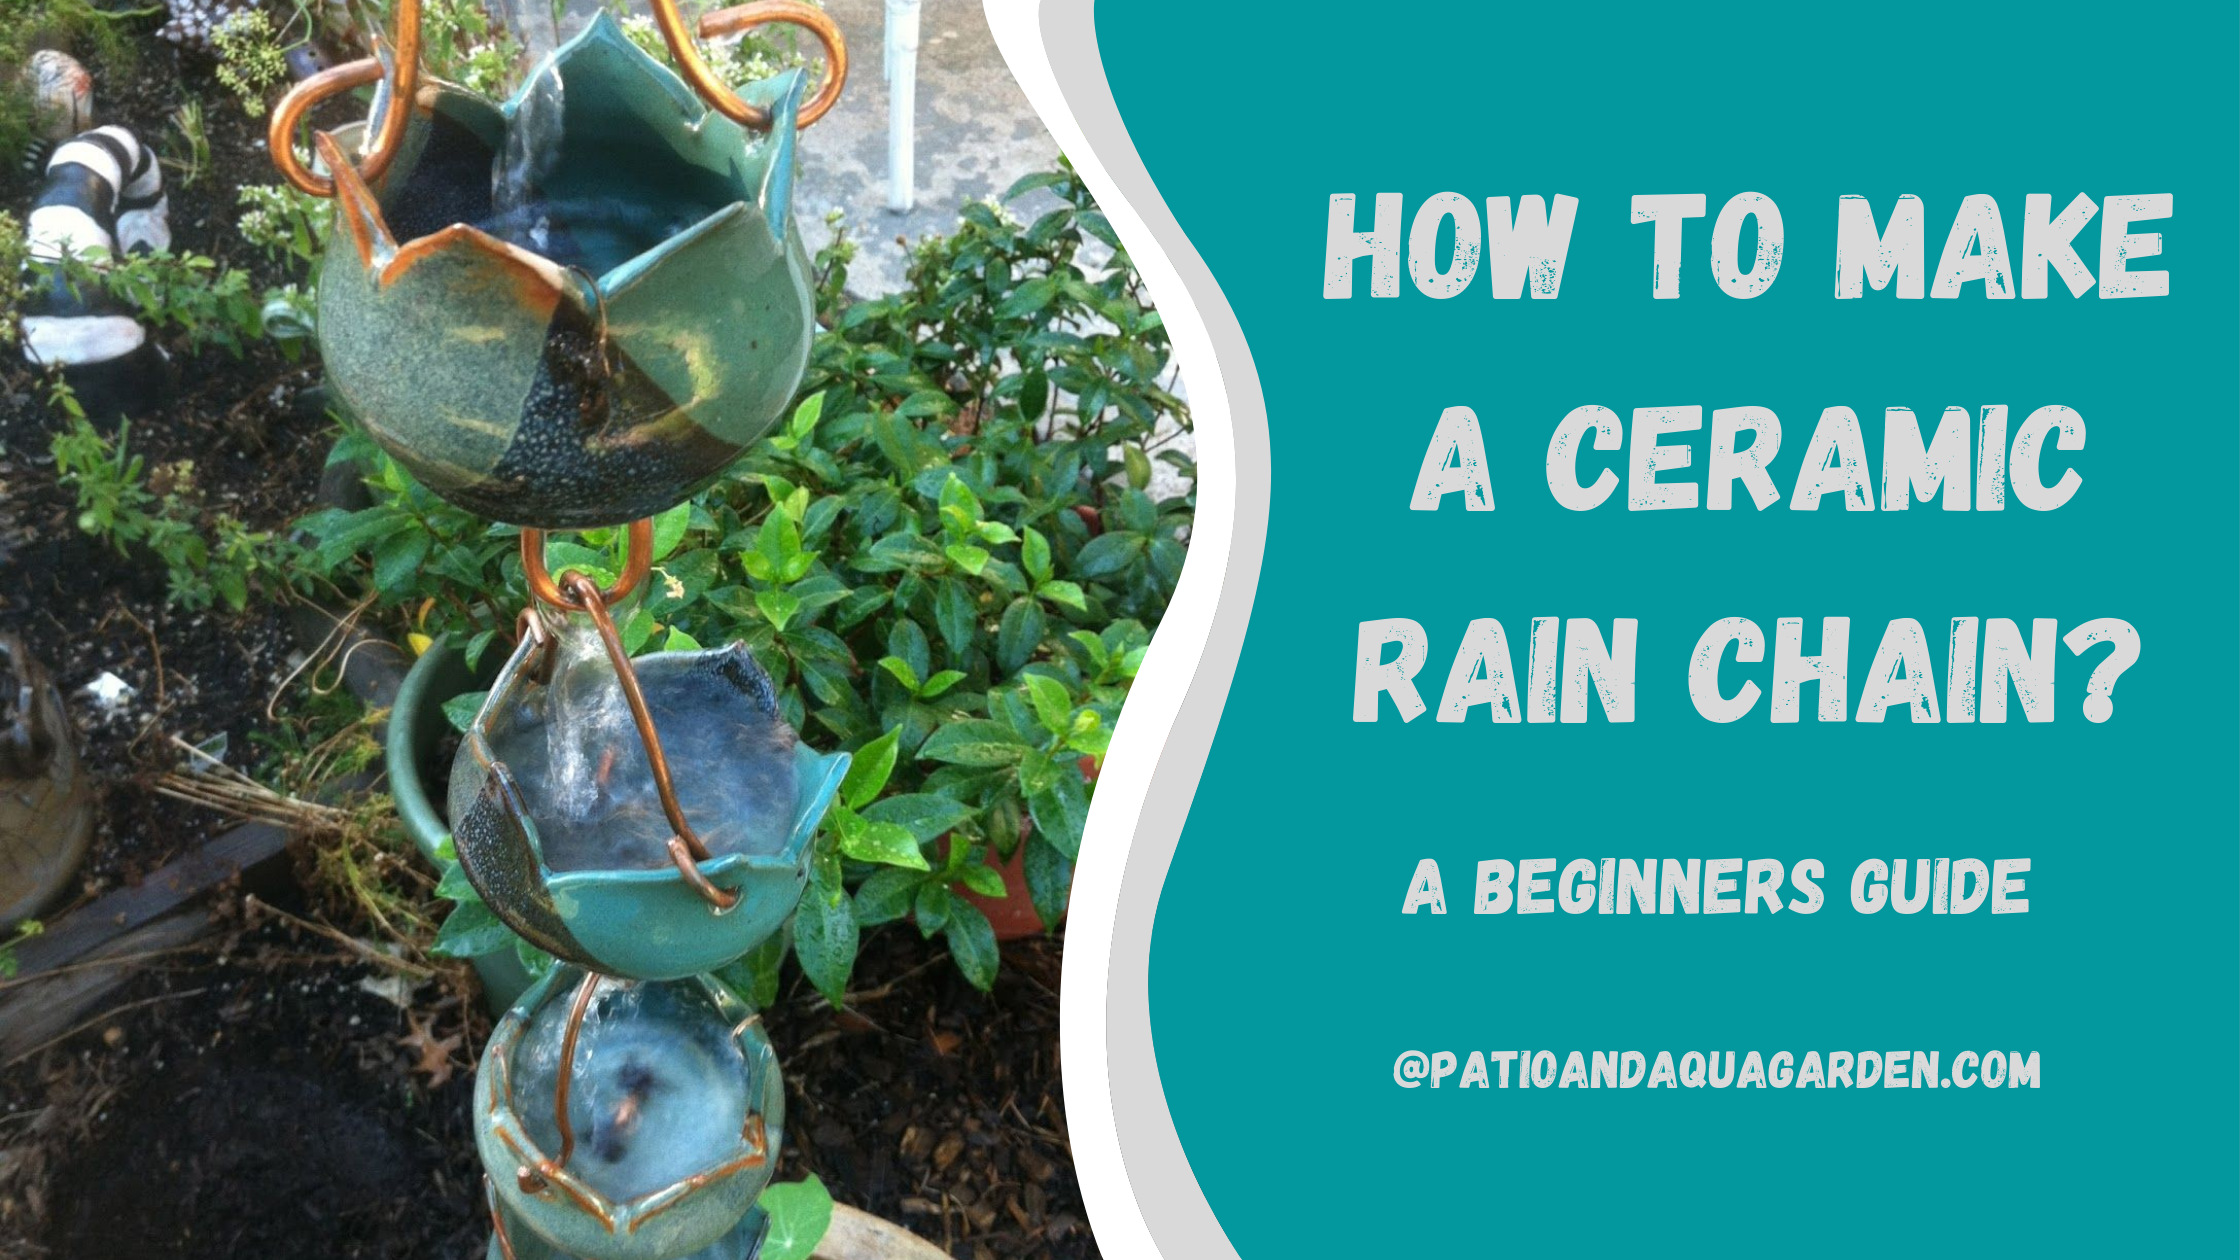
You can make a rain chain out of different materials. The popular materials for rain chains are steel, ceramic, clay, copper, aluminum, etc. Ceramic rain chains are as popular as the other materials. And anyone can DIY such an ornament if they know how to make a ceramic rain chain.
To make a ceramic rain chain, you need pieces of ceramic. The number of the pieces will depend on how long you want the rain chain to be. Drill or cut out a hole at the bottom of the piece or through it. Then use a rod or wire to put them together and attach the chain to the gutter.
Rain chains are not very expensive, especially if you pick a simple design with a comparatively low-quality material. But why do you need to do that if you can make one on your own? And it will cost you way less than purchasing one.
How To Make A Ceramic Rain Chain?
The advantage of making a ceramic rain chain is that they cost less money. And you can use your unused ceramic cups, mugs, or bowls to make such a rain chain.
You can also purchase ceramic pieces of different sizes and shapes to create a unique look. Whatever you use, here is a step-by-step guideline on how to make a ceramic rain chain.
Things You Will Need
- Safety glasses
- Safety gloves
- Mask
- Angle grinder/Drill
- Ceramic-cutting blade
- Water
- Wire
Step 1: Wear Protection
Working with ceramic involves lots of flying dust and debris. It can harm your respiratory system, and using protective equipment is necessary. Wear safety glasses, masks, or gloves before you start.
Step 2: Cut The Ceramics
First, you have to remove the bottom of your ceramic cups or bowls. Use an angle grinder with thin ceramic-cutting blades to remove the base. For lubrication, you can use water. Using oil is better, but it will create a hectic mess.
If you are using random ceramic pieces instead of cups or bowls, drill through the middle of the pieces. It will have to be large enough to allow the rod or wire to pass through.
Step 3: Enter The Wire
For ceramic pieces, put them together one after another using a wire. If you are using random ceramic pieces, try assembling large and small pieces in turns. You can knot the wire after entering every part to keep a gap between each piece.
Follow the exact instructions if you are using bowls or cups. Bend and cross two wires, and hook them through the cut. Then connect the other pieces like this. Make sure to twist the wire in a way so that it can support the ceramics.
Step 4: Assemble The Rain Chain
This part is for you if you have used bowls or cups rather than random pieces. After you have bent and attached the ceramics to the wires, it’s time to put them together.
Connect one bowl’s wire to another and complete the chain. And there you have your ceramic rain chain.
Step 5: Hang The Rain Chain
This is not a ceramic rain chain-making step. But now that you have made one, I guess I can add a little more about how you can hang it.
Installing your brand new rain chain will only take a few minutes. Just drill two holes on either side of your gutter collar, enter two twisted wires through it, and hang your rain chain.
Step 6: Additional Set Up
You can bolt the chain’s bottom part to the ground or gravel to prevent it from moving a lot. Because the chain is already heavy and too much movement will not do any good for your roof.
The second option is to connect it to a barrel or a large ceramic jar. You can water your plants from the gathered rainwater.
Lets, check a video
Benefits Of A Rain Chain
You’re mistaken if you think rain chains will only let the water drain and create a bit of a jingling noise. Having a rain chain has several advantages. And I’m sure you are going to love rain chains even more after learning about all these.
Decorative Design
One of the first things anyone notices about rain chains is how they look. As I mentioned a moment ago, rain chains are like ornaments. No matter where you set it up under the edge of your roof, it will enhance the appearance.
Sound
The sound of rainfall always brings joy and a sense of calmness to our minds. Rain chains can double that with their serene sound. The water following the chain and the cups create a unique sound that makes you enjoy the rainfall even more.
Affordable
You can find rain chains of various materials and designs depending on your budget. If that’s not an option for you, you can DIY one and save some bucks.
Easy To Install
A purchased rain chain will be completely set up. So you don’t have to put them together before installing. All you have to do is attach the hanging clip to your roof’s gutter system and hang the rain chain.
To ensure the end of the chain doesn’t sway a lot in heavy wind, you can attach it to gravels or barrels. That’s pretty much all you need to do to install a rain chain.
Low-Maintenance
Rain chains barely need any maintenance. It doesn’t require any cleaning to remove debris as the design is open. However, you need to check its fitting with the gutter twice a year to see if the weight is tearing or cracking the gutter or roof edge. It is best to remove the rain chain during the winter.
Final Words
We all have our mums’ old ceramics from centuries ago that they won’t throw away. I never understood the mystery behind it, but now you see how helpful they can be. If you know how to make a ceramic rain chain, those ancient things won’t be wasted.
But there’s a small tip: do not hang your ceramic rain chain where the wind is too strong, or it has a chance of getting banged and broken. Keep a small distance from its surroundings to keep it safe.